7 Steps To Building Your Own DIY Campervan Kitchen
Are you trying to figure out how to fit a kitchen into your campervan? It can seem like a big challenge, but don’t worry, we’ve been there and we’re here to help.
We’re Wade and Dani, and we’ve spent the last two years living in our own campervan that we built from scratch. We’ve learned a lot about what works (and what doesn’t) when it comes to campervan kitchens. In this blog, we’re going to share our experience and show you how we built our kitchen in 7 easy steps.
Whether you’re a DIY pro or just starting out, we hope our story and tips will make your campervan kitchen project a little easier. So let’s get started!
- Step 1 – Deciding on the Kitchen Essentials
- Step 2 – Mark the Layout on the Floor
- Step 3 – How do you Make a Camper Van Kitchen?
- Step 4 – Dry Fitting the Kitchen Cabinets
- Step 5 – Fitting and Cutting Bench Top
- Step 6 – Installing Campervan kitchen appliances
- Step 7 – Enjoy your hard work
- Frequently Asked Questions
Step 1 – Deciding on the Kitchen Essentials
We had a lot of things in our van kitchen that we wanted to include, so the first and most important thing was to figure out how would everything be organized within the cabinets. Here’s what we had to work with:
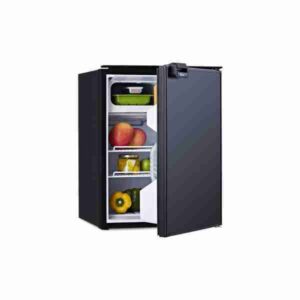
- Bushmans 130L fridge
- Ikea portable Induction cooktop
- Gas Cooker (for backup)
- Microwave
- Netribullet
- Kitchen sink
- Tap and Filtered water
- Pots, pans, Tupperware, plates, bowls, and utensils
Our original plan was to have the fridge up close to where the bed ends. But this was not going to work. We wouldn’t have been able to open the fridge door due to the shower/bathroom.
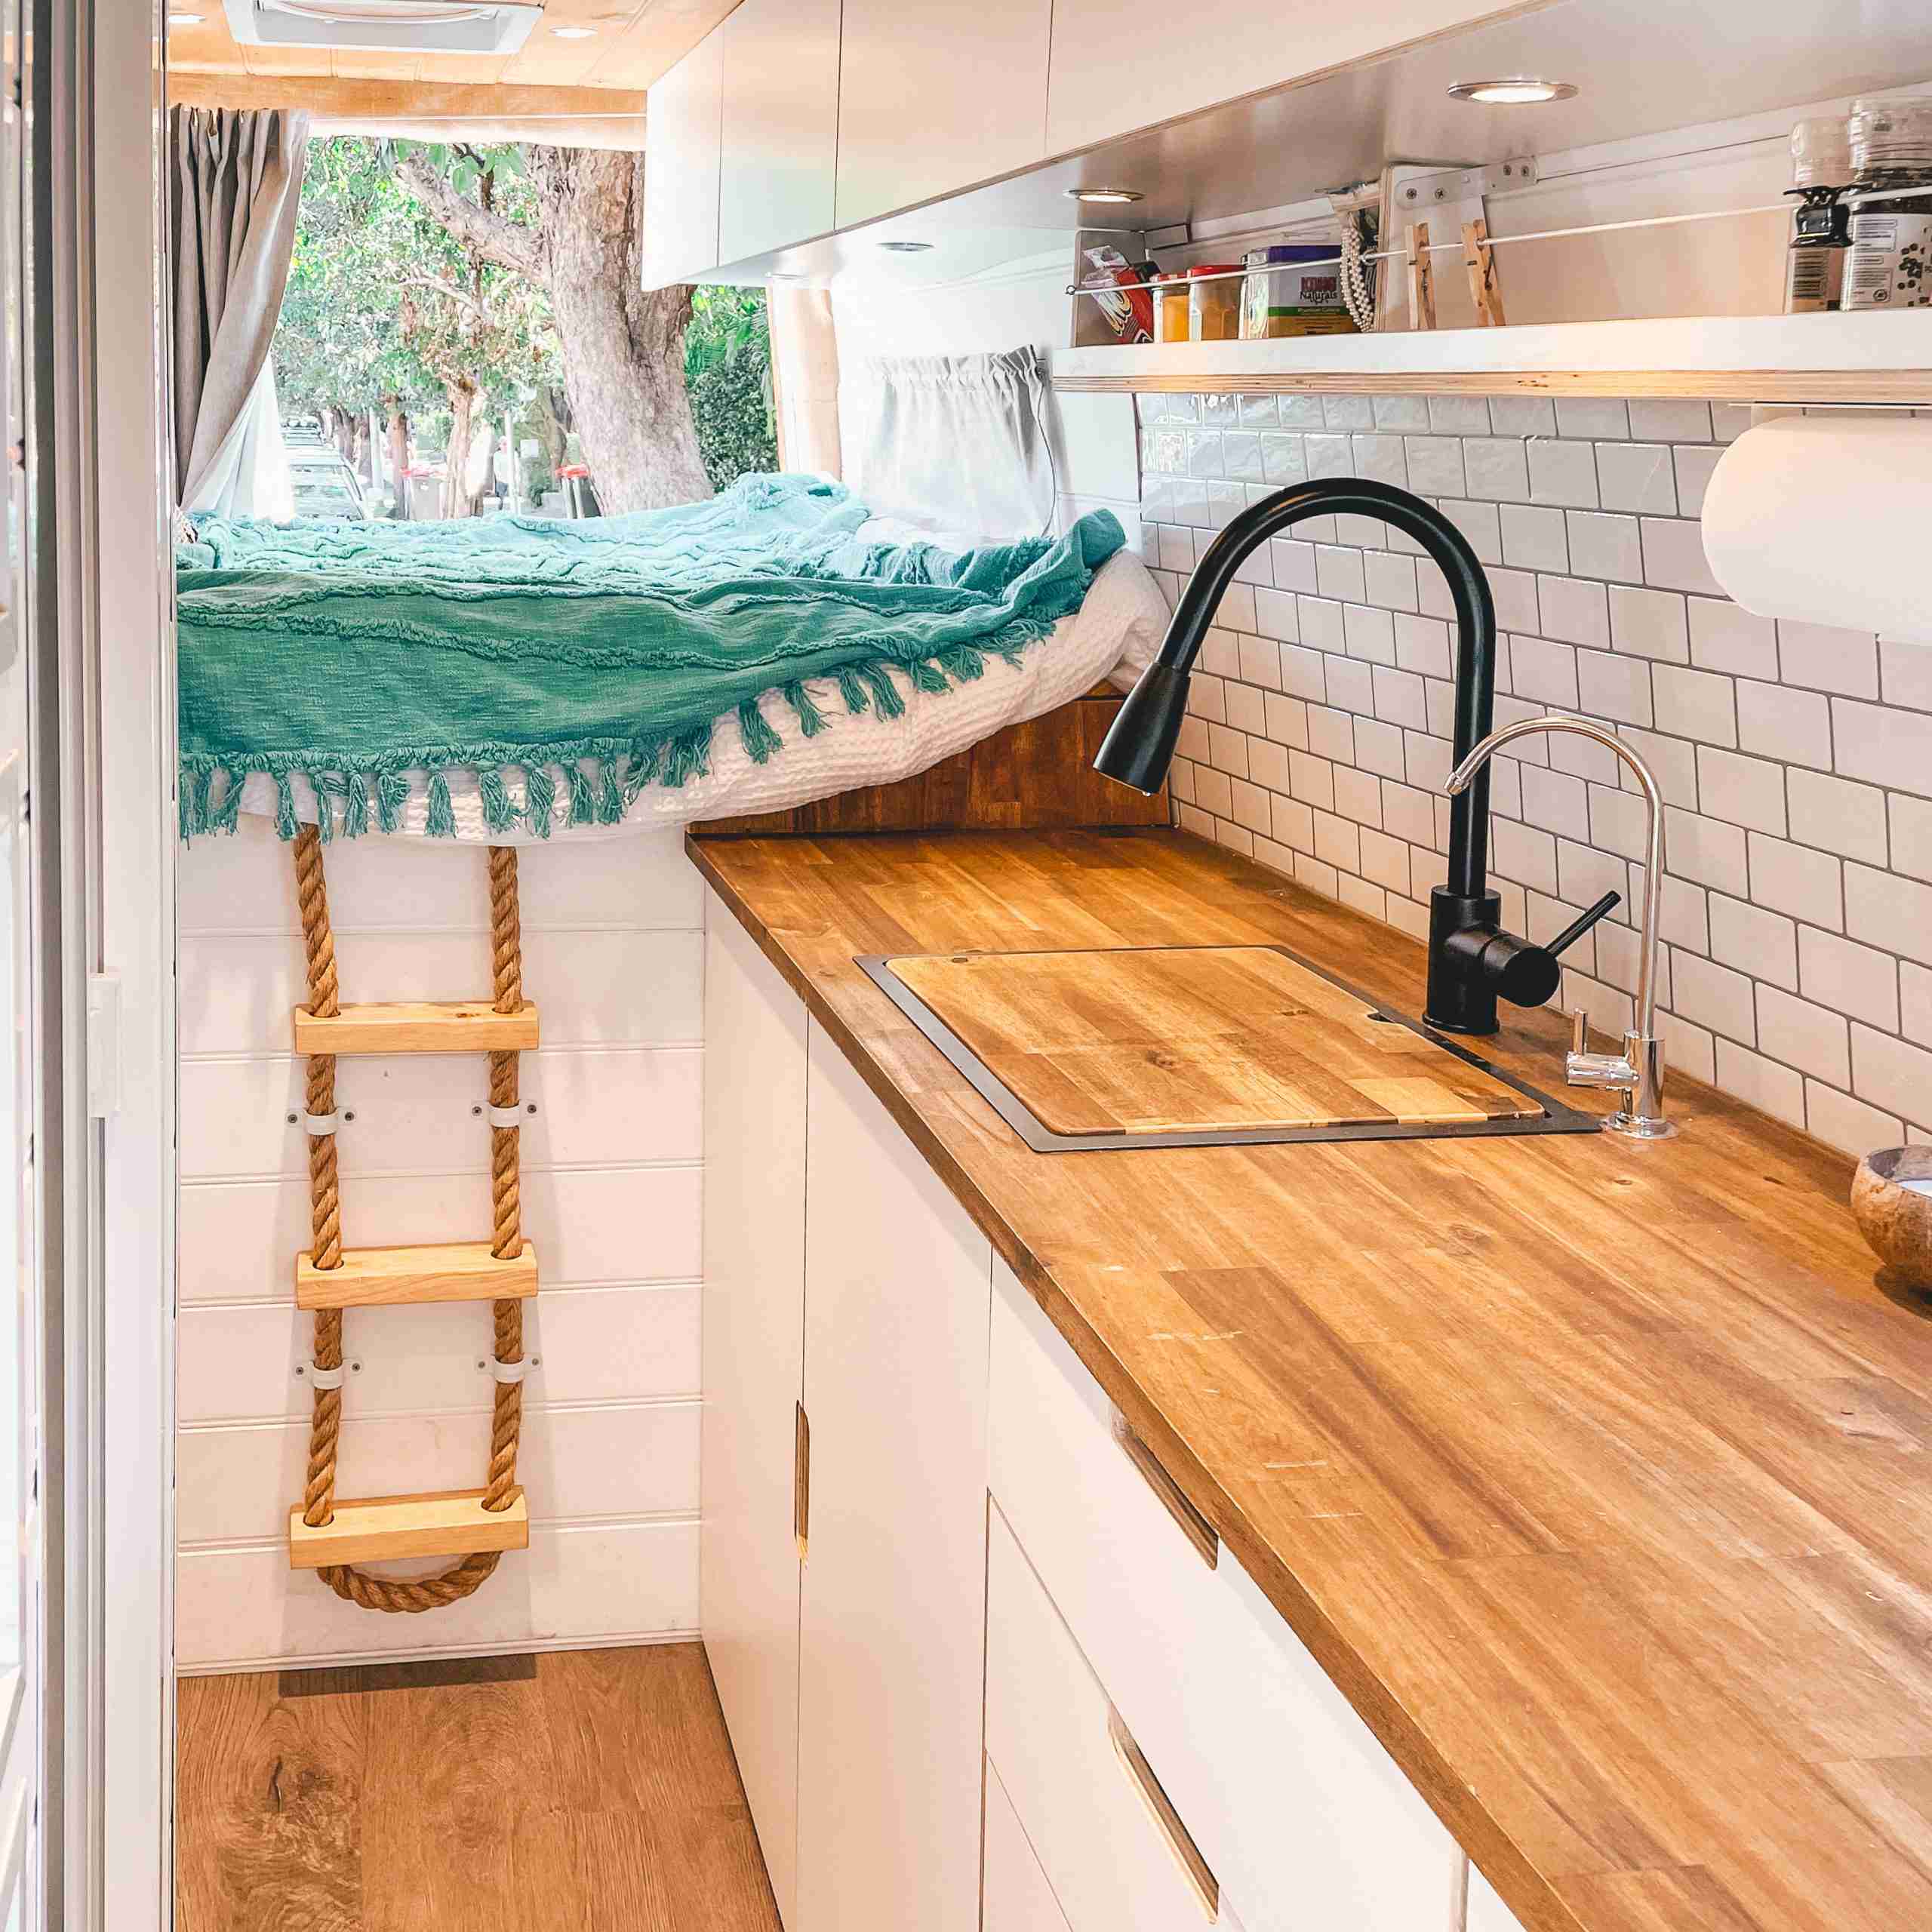
Our solution was to move the fridge to the other end of the kitchen counter and have the sink opposite the shower.
This turned out better. We are not able to add additional vents to extract the heat from the fridge. The fridge now operates at a better temperature and saves us on power.
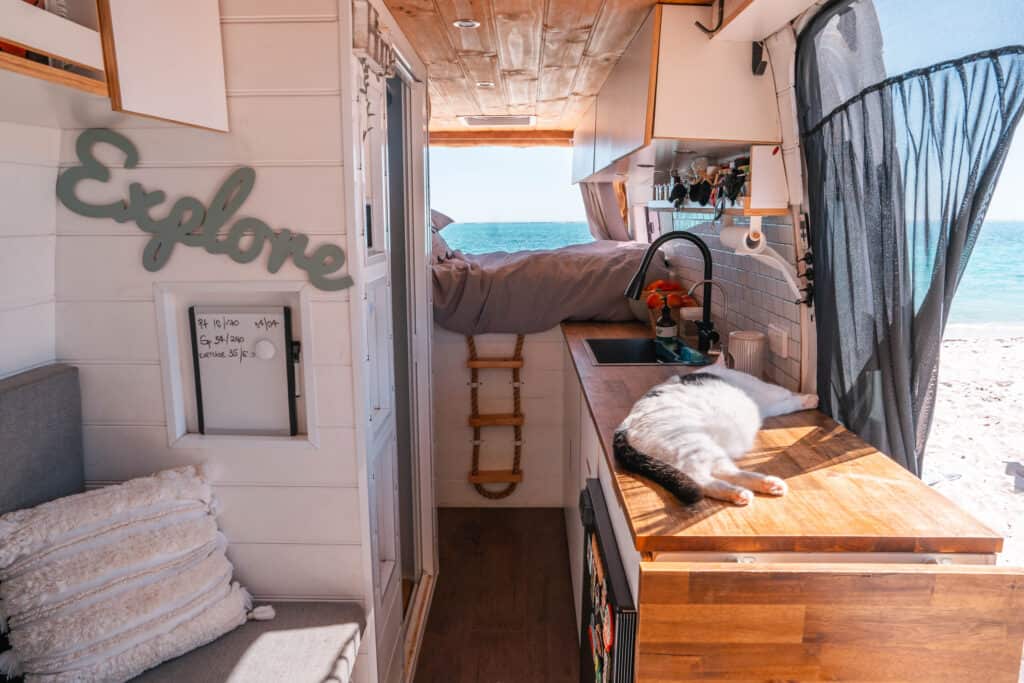
Another advantage of this arrangement is that now when we’re preparing our meals, we have a beautiful view out the sliding door.
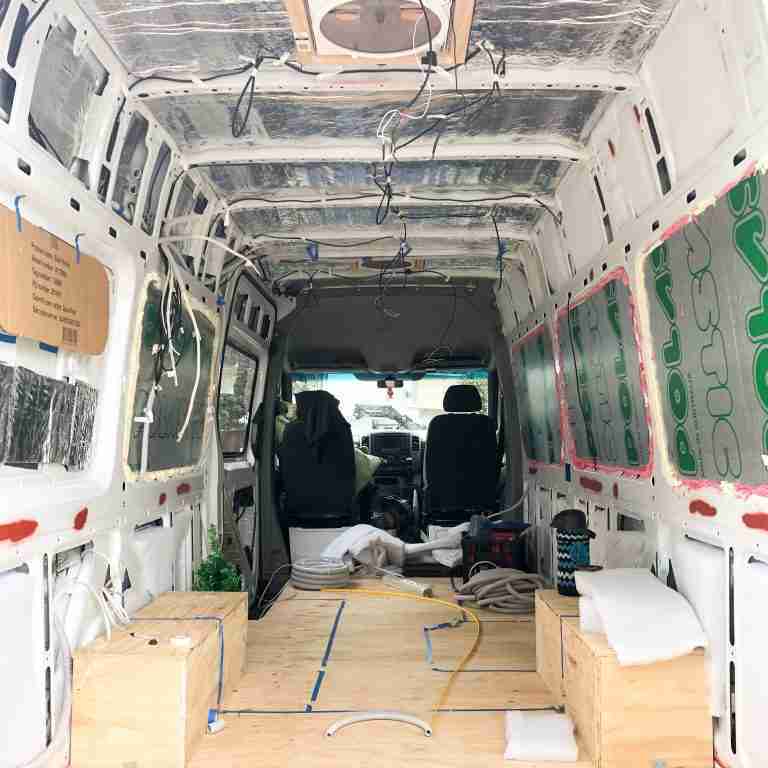
Step 2 – Mark the Layout on the Floor
Once we had figured out exactly where everything should go, it was time for the actual work. We used electrical tape on the van floor as a guide and marked off the kitchen. It helped us visualize how things would look once they were all put in place.
We decided that the fridge should be placed under the kitchen bench, nearest to the passenger’s seat, with the sink/faucet/drainage following.
The next item would be an overhead storage cabinet for our kitchen goods, followed by a tiny area to keep our stove. A cabinet adjacent to the shower would be this cubby hole.
We put a lot of time and effort into designing the perfect camper van kitchen. We wanted to make sure that it complemented not only our bed frame but also all of your other storage solutions as well.
Step 3 – How do you Make a Camper Van Kitchen?
A pre-made kitchen cabinet is the one you find in stores, so it has the cabinets pre-made and flat packed that are ready to be taken with you. The biggest issue with this type of kitchen is the cost.
Pre-made kitchens are expensive, which makes them hard to afford. You can save some money by installing these yourself if you have the patience and skillsets.
Ikea or Bunnings do sell affordable options. However, you will be limited to the set sizes. It might leave you with awkward gaps. The goal of building your own DIY campervan kitchen is to use all of the space available.
A DIY kitchen cabinet is one that you build from scratch. This type of kitchen cabinet also has pros and cons, but the main pro is it’s an affordable option. The downside to DIY cabinets is that they will take up more time, and there will be a lot of manual labour required to assemble them.
We decided to go with the DIY option. It’s one of the most customizable ways to go. However, we contacted a van build company called Vanture, who helped put our design onto a computer and cut the whole kitchen out a CNC machine.
Kitchen cabinets are generally made from ply wood as it has a balance of durability and weight. However, we have seen create there camper van kitchens with T-slot structural framing or called 80/20 tubing.
This option is pretty much a custom flat pack kit. We only needed to knock the cabinets together and start putting in all of our dry-fit pieces, so it didn’t take long at all!
Step 4 – Dry Fitting the Kitchen Cabinets
Dry fitting the kitchen cabinets is 100% necessary. You will quickly find that nothing is straight in the van, and everything will need to be adjusted slightly. Make sure you have a level surface to place the cabinets onto not to wobble at all.
This is when you will figure out which parts of your cabinets need to be cut down and how much. You will also realize where you will mount your cabinets do they are nice and robust.
PRO-TIP
Take your time to scribe any cabinets that need it. It will help with the overall finish of the van. I would recommend using cardboard or scrap timber to create a template. Transfer to your finished piece of wood to cut.
If you make a mistake with the template, you can easily create another one; however, if you cut your finished piece of timber and make a mistake. It now becomes an expensive issue to fix.
Step 5 – Fitting and Cutting Bench Top
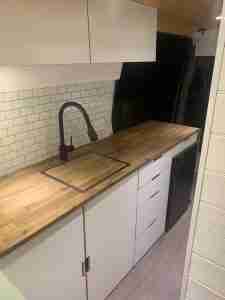
We built the cabinets pretty much the same way a typical kitchen in your house is built. It allowed for plenty of room to have a cut out for the sink and faucet.
Our bench top is a pre made 40mm thick bench top that we purchased from the local hardware store.
We traced where the kitchen sink sits and cut it out (the cutout section is now our cutting board). We needed to scribe the back on the benchtop to the van wall to allow a nice flush finish.
In the section where the benchtop would meet the wall, we used silicone to seal against the van wall. This way, it gave us a nice clean finish but also allowed for movement when needed.
PRO-TIP
If you are doing this yourself, I highly recommend measuring everything multiple times before cutting anything down so that nothing is left undone or incorrect measurements are taken. It’s always better to have too much than not enough.
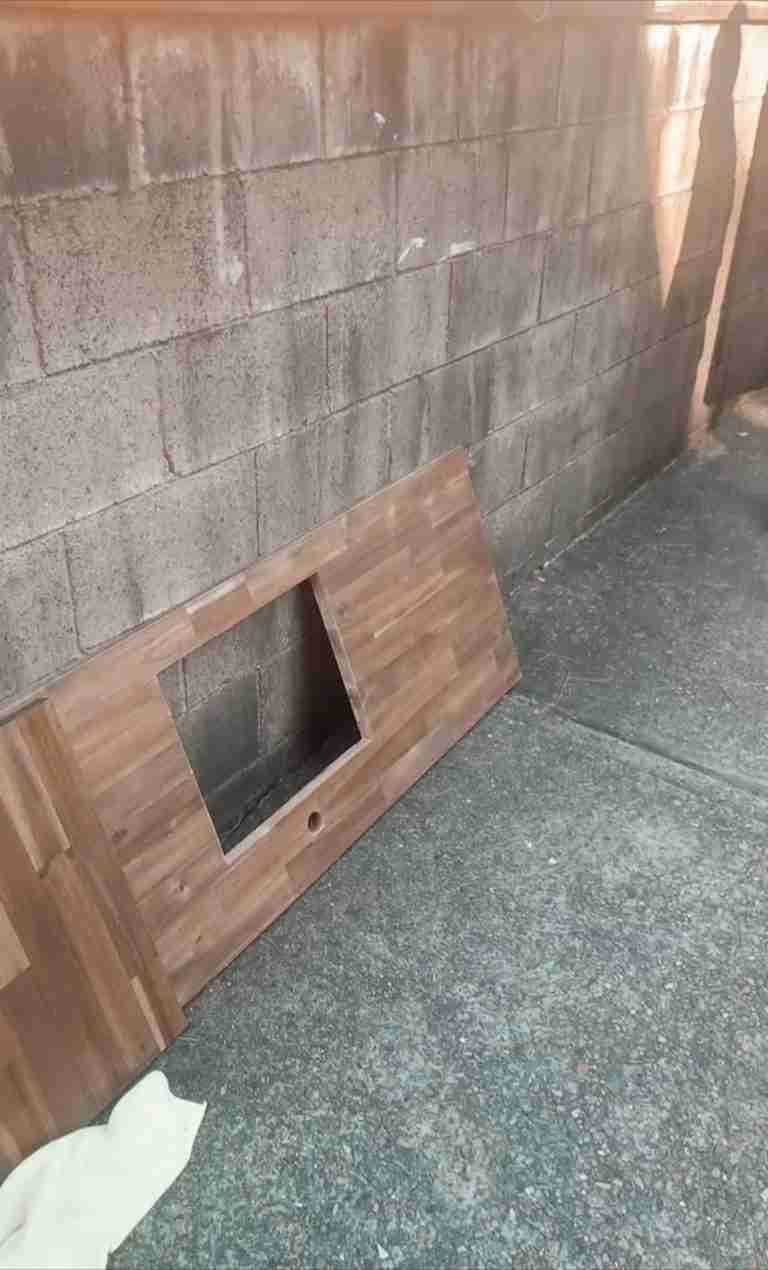
Making the Sink Cutout
To create the sink cutout, we first placed the countertop on the frame and traced as much of the sink outline as possible from underneath. Then we flipped the counter over, aligned the sink with the pencil lines, and finished tracing.
Because the lip around the sink had to be covered, we drew a 20mm line inside the original line. We kept the sink’s lip exposed around 10mm all over so it wouldn’t stick out.
We drilled a 20mm spade hole in the corner and then cut with a jigsaw to make the hole for the sink.
The leftover cutout can rest on the exposed lip and act as a sink cover that gives us more countertop space when we need it.
We can quickly remove the cover by grabbing it with our hand and pulling it off because of the hole we created with the spade bit.
We came across similar sink covers when researching RVs for ideas, and we thought they were a fantastic concept.
After cutting the hole for the sink, we screwed the countertop to the frame from inside the cabinet. We had no screws showing or screws that needed to be a cover-up. We also drilled a hole behind the sink for the faucet.
We sealed the beach top with food grade bees wax.
Step 6 – Installing Campervan kitchen appliances
Now you are on the back end of your camper van kitchen and ready to start installing your appliances. We went with a combination of new and second-hand appliances for this project.
The stove is the heart of your kitchen, so it’s best to go with something that has high reviews or you know will be reliable over time (gas ovens are great because there aren’t any moving parts). We purchased an Ikea portable induction cooktop. We can store it away when not in use, and it gives us so much extra room during the day.
Next up is the fridge. There are so many options! We went with the Bushmans 130L upright fridge. It allows us to store our food and essentials without taking up too much space. It tucks nicely under the benchtop.
Our microwave doesn’t have a fixed spot. We store it under the bench seat and pull it out when needed. Keep in mind to look at the wattage the microwave uses. Fewer watts will help save your battery usage but might take a little longer to warm up your food.
Step 7 – Enjoy your hard work
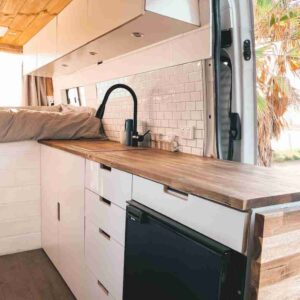
Now it’s time to finish the small details in your campervan kitchen work and enjoy your hard work. We installed two LED strip lights on each side, so the light was soft, bright and perfect for cooking inside.
We also went with some under-cabinet lighting to light up our countertops at night time when we are making dinner or cleaning up after a long day of exploring.
We Installed TIC TAC stick on tiles for our splashback. It’s super easy to install and gives you a tiled look without the weight.
In this post, we went through everything that went into our campervan kitchen setup. We hope you enjoyed reading about it and got some ideas to incorporate in your van or RV conversion! As always, if you have any questions, feel free to comment below. Have a great day everyone!